Ben Blakeley
-
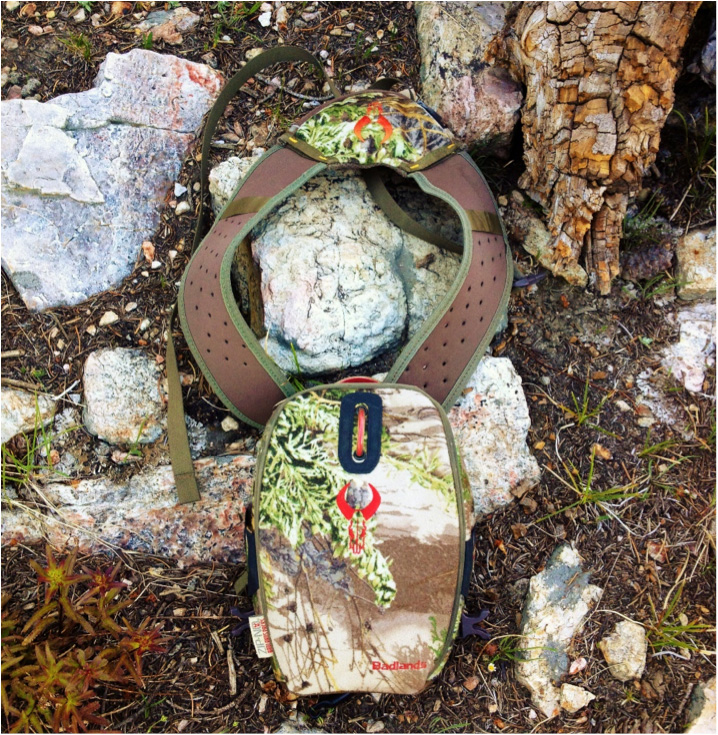
Badlands Magnetic Binocular Pouch Review
I take my binoculars anywhere and everywhere outdoors every time I go. It doesn’t matter if I’m scouting, hunting, shed hunting, driving through the canyon, or even on a walk with my family in the foothills, I’ve always got my binoculars handy because you never know what Mother Nature has in store for you! When I started out hunting, I used/borrowed a pair of $50 binoculars that my dad kept in his closet but seldom used. I did my best to take care of them, but looking back I think I was actually pretty careless. I’d carry them around my neck on a strap with nothing more to protect them than a set of flip-off covers for the objective lenses and nothing covering the ocular lenses. Those binoculars took a beating, bouncing around on my chest all day and suffering whatever the elements had in store from sun, wind and dust, to rain and snow.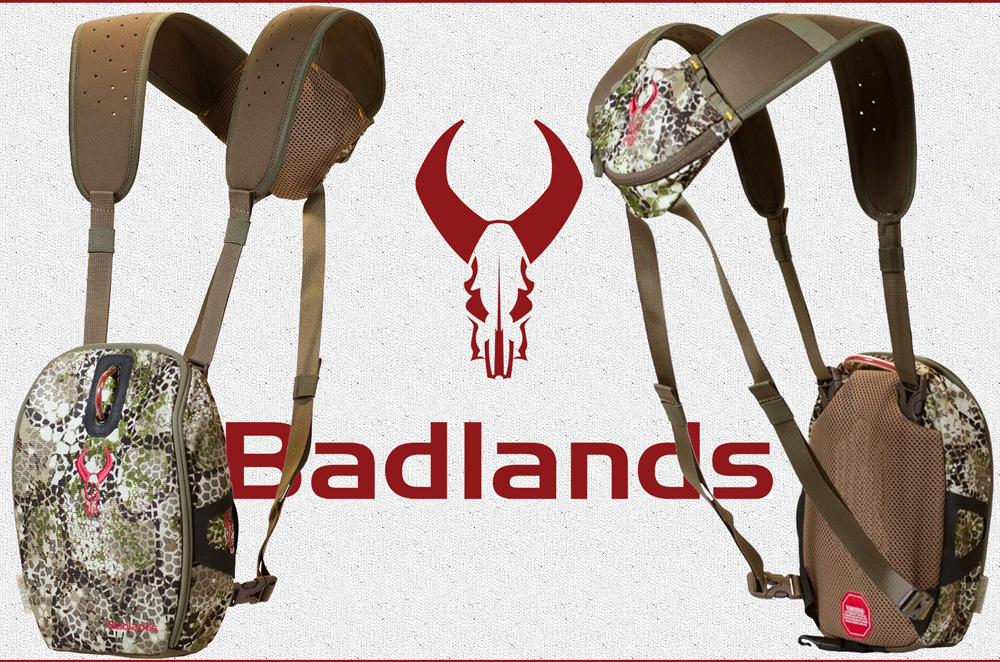 When I decided it was time to get serious about my optics and that I needed an upgrade in the binocular department, I knew that before I ever purchased a high end set of binoculars, I needed to figure out a good carry system for them. I had to have the carrying system selected and purchased before I purchased the new binoculars or else I’d be too tempted to take them out and use them just once or twice or maybe twenty times before I got around to purchasing the carrying system. I had made up my mind to not let that happen. One reason I was so adamant about having the carry system before buying the binoculars was that I’d had a friend who bought new binoculars and took them out into the field before getting a carrying case. Long story short, he ended up dropping them while coming down a wet hillside when he fell and actually cracked one of the lenses. I did not want to chance ending up in that situation!
When I first began researching the options available for binocular carrying cases, I was a little naïve in my selection process. I knew I wanted 10x42 binoculars, a pouch that rode on my chest, and something that offered complete protection when shut. That was about the extent of my criteria. I looked up different options online and read about them, but what eventually helped sway my decision was some input from close friends to get the Badlands Magnetic Binocular Pouch.
 Continue reading →
 -
Swarovski 25-60x65mm Spotting Scope Review
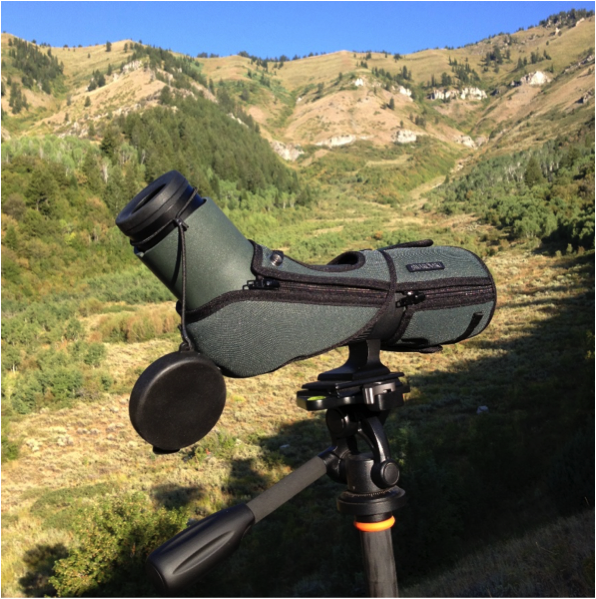
 If you’re a serious big game hunter, then you know that a quality spotting scope is one of your most important tools. The phrase ‘let your eyes do the walking’ doesn’t mean you’re a lazy hunter, it means you’re a smart hunter. Sometimes we are confined by unit regulations to only harvest certain types of animals, be it unbranched bull elk in a spike only unit, full curl Dall Sheep (the ‘full curl’ requirement can actually be met in a few different ways, all of which a quality scope helps in determining!), a nanny-only mountain goat hunt, and the list goes on and on. Or maybe you just want to find the biggest, oldest buck that you can, but there’s hundreds of square miles to cover from your glassing spot where he could be hiding. If you can’t accurately make out what it is exactly that you’re looking at through your binos, or with your naked eye, then you’re stuck in between a rock and a hard spot not knowing if what you’re looking at is worth your time and energy to go after. This is where a quality spotting scope can really help you out. Now the word quality in terms of a spotting scope will mean different things to different people; some can’t or won’t spend as much on a scope as others, some people only like certain types or designs, and for some, size and weight play a big influence on their decision of what scope to get. But in the end, I think a quality spotting scope means that you are seeing as far as possible with the clearest possible image and maximum possible light transmission. In my opinion, the Swarovski ATX 25-60 x 65 mm spotting scope is the definition of a quality scope.
The ATX 65 mm scope for me is the perfect blend of multiple elements: size taken up in and weight added to your pack, sleek ergonomics, and unrivaled optical clarity. I chose the ATX model over the STX model simply because I like an angled spotting scope. Since I do a lot of backpacking, a scope that doesn’t take up half the space in my pack, or add too much extra weight, is something I really put a lot of importance on. The ATX 65 mm is listed as weighing 55.9 ounces, or 3.49 pounds. That small weight penalty is something I’ll gladly take so that I can see how big a buck is that I’ve glassed up across the canyon over a mile away. And at just over 13 inches long, it doesn’t take up much room at all in my pack.
 When you're 4+ miles back in like I was in this photo, every ounce counts Continue reading →
 -
Kenetrek Mountain Extreme 400 Hunting Boot - Product Review
Kenetrek Mountain Extreme 400 Review By Ben Blakeley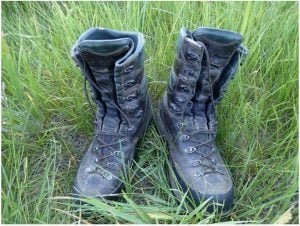 The picture above was taken a few weeks ago right before I hiked up a fairly steep bush-covered hill to a water hole to set a trail camera. The Kenetrek Mountain Extreme 400’s have taken me many such places, and I’ve logged hundreds of miles in them, from hunting and scouting the high country, backpacking in to new areas to get the lay of the land and try to find a big buck, shed hunting in the snow and mud across several states, and everywhere in between. I have worn these boots for any and all outdoor activities for over 2 years now, and while the wear and tear is starting to show, they’re definitely still going strong.
Instead of starting out by listing the manufacturer’s specs on the boots (you can find these pretty easy with a quick Google search), I’ll get right into my personal experiences with them.
Initial fit and break-in
These have been my first ‘high-end’ pair of hunting boots. Prior to these, I had Asolo boots, and while they were pretty decent boots, I figured if I’m going to hunt/backpack/scout in all sorts of terrain and weather, I needed a pair of boots that can stand up to whatever I’m going to encounter. The Asolo’s I’d been using had many of the qualities that I wanted, but they definitely weren’t water-proof, they weren’t insulated, and the sole wasn’t as stiff as I’d like and resulted in my foot shifting in the foot bed and getting sore while side-hilling or hiking in extremely uneven terrain. I remember one general season deer hunt I used them on, it had snowed early, and while that is what most people long for so that the bucks will be moving more, I simply remember having cold feet for most of the hunt. So after that season, I determined that my next gear upgrade had to be a better pair of boots. There were two main reasons I selected the Kenetrek Mountain Extreme 400’s:
A local sporting goods store had them in stock so that I could try them on and see how they fit before buying (this is crucial!).
A recommendation from a friend who’d used them for years and really liked them.
Now, I would highly recommend that when making such an important decision such as what new hunting boots to buy, that you put more into your research and selection of boots than I did at the time! But, as luck would have it, I feel that I ended up with a definite winner with these boots. I will say that for me personally, I’ve found over the years and through trying on many different pairs of shoes/boots for running, basketball, and hiking, that my feet aren’t very ‘picky’ for lack of a better term; I’ve never had a pair of shoes or boots that I can remember that I just couldn’t wear due to extreme fit or discomfort issues. Call it luck or call it ignorance, but I feel I’ve been pretty lucky in that respect.
Anyway, trying on the Kenetreks was really important to me. My general rule back then and still to this day is that if I put a boot on straight out of the box, lace it up and walk around in it and feel any immediate discomfort, this is not the boot for me. Now, I have since modified this test to take it even a step further in order to mimic a real life situation on the mountain: the first thing I would do after buying a new pair of boots is lace them up and walk up some stairs. If you feel painful amounts of pressure on your heels, take them back, because these are not the right boots for you. That pressure and pain you feel on your heels will not go away even after a long break in period and will always be there when you climb. Continue reading →
Page
- Page Previous
- Page 1
- You're currently reading page 2
