Stealth Cam – Brand Overview

Ask any serious big game hunter what brand of trail cameras they use to keep track of the big game animals they’re after and Stealth Cam will definitely come up in the conversation. Stealth Cam is not new to the scene, either; they’ve been around since 2000. Prior to Stealth Cam’s launch, the trail camera market was not what it is today. There were options available, but not nearly like the selection we have at our fingertips now, and they were built differently and not near as functional or user-friendly as what’s currently available. The creators of Stealth Cam decided to change that. They saw a niche that needed to be filled. Their goal was to create a functional wildlife monitoring system using the latest technology that would be affordable to the average sportsman.
Over the years, Stealth Cam has refined their product. They’ve had setbacks just like any new company can and usually does, but through increased effort into the engineering process they’ve been able to overcome those setbacks and in turn create even more highly functioning products. The drive to become the best in the industry has ultimately benefited the customer by far the most as their technology and products have improved, from the looks and ergonomics down to the components and circuitry. For example, until just recently, Stealth Cam had been found to have one of the slower trigger speeds as well as recovery speed times. But, thanks to their engineers they were able to fix that, and now they boast some of the fastest cameras on the market. Just goes to show that when companies compete the real benefactor is the customer!
Below is a quick overview of a few of the top-of-the-line models currently offered from Stealth Cam and sold on BlackOvis.com
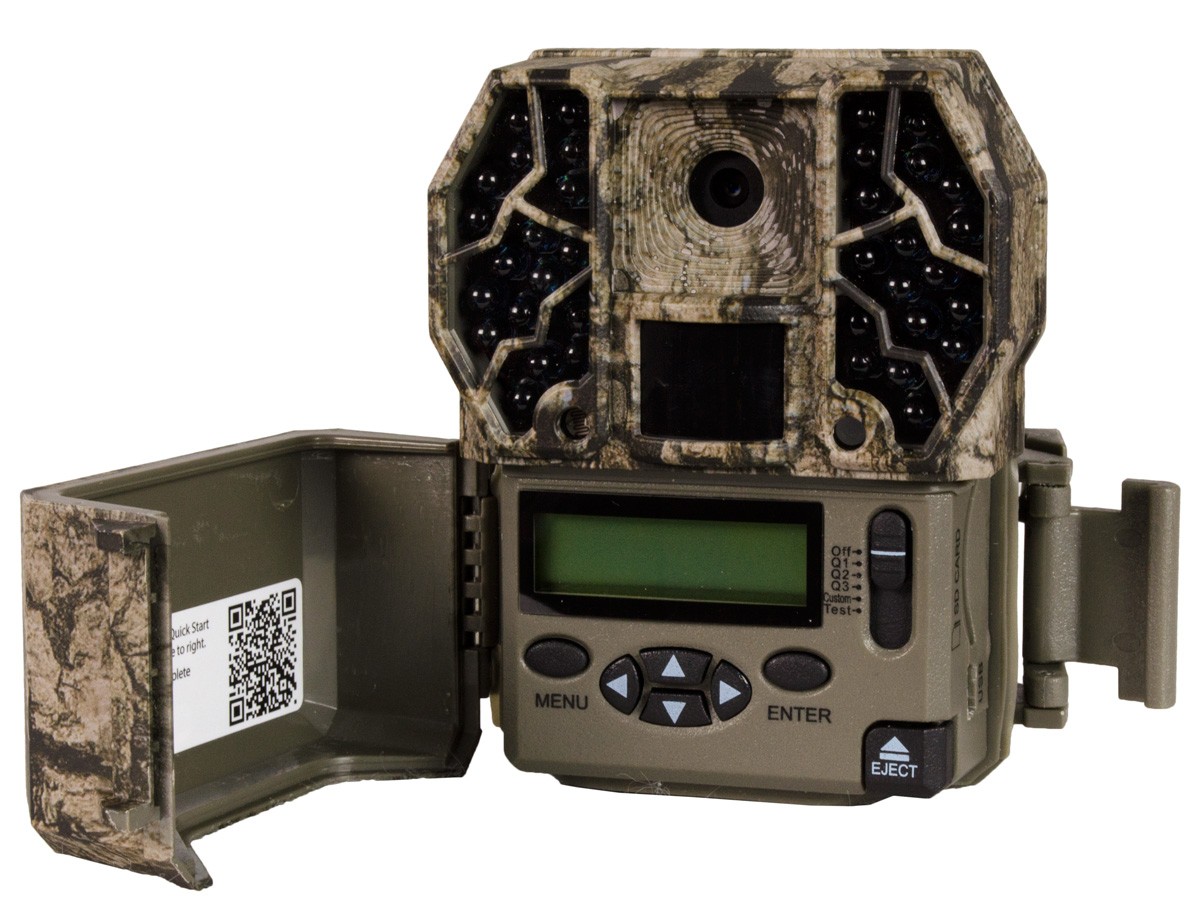
Stealth Cam ZX36 No Glo 10MP Trail Camera Features:
- 10 MP resolution & HD recording w/audio
- Time lapse function w/PIR override
- 36 NO GLO IR emitters w/100 ft. range
- Reflex trigger < 1 second
- Burst Mode 1-9 images per triggering
- 5-59 second / 1-59 minute recovery time out
- Operates on 6 AA batteries
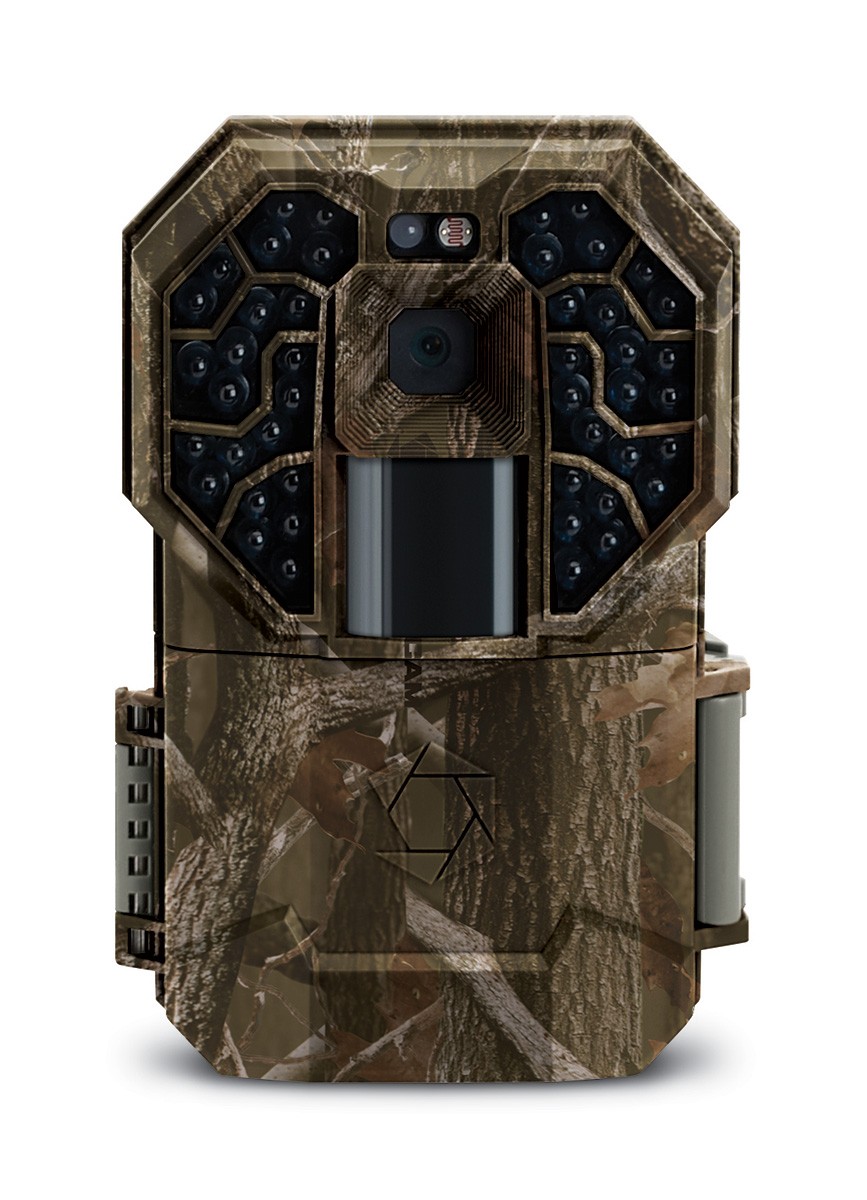
Stealth Cam G45 Pro No Glo 14MP Trail Camera Features:
- Different resolution settings to save space on your HD card if desired: 14MP, 8MP, 6MP, 2MP
- HD video recording from 5 to 180 seconds w/audio
- Time Lapse function w/PIR override
- 45 No Glo IR emitters w/100 ft. range
- Reflex trigger < 0.5 seconds
- Burst Mode 1-9 images per triggering
- 5-59 second / 1-59 minute recovery time out
- Operates on 8 AA batteries
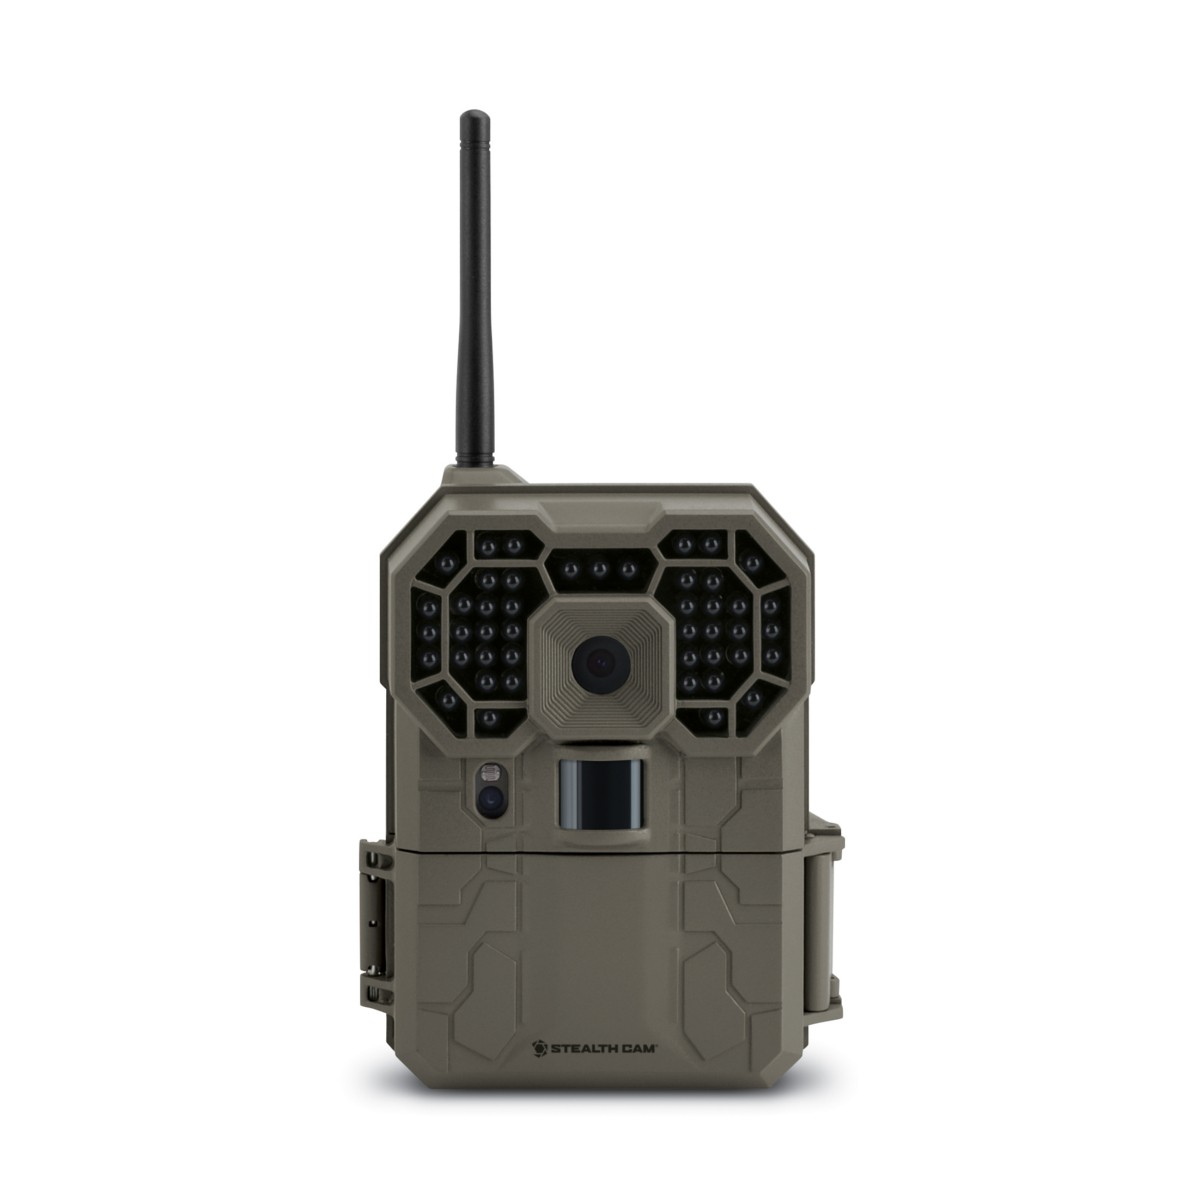
Stealth Cam GXW Wireless 12MP Trail Camera Features:
- User can pull videos and images off the camera straight from your smart phone with Stealth Cam’s iOS and Android Apps (you MUST be able to receive a cell signal wherever the camera is placed to be able to pull images off the camera remotely!)
- Different resolution settings to save space on your HD card if desired: 12MP, 8MP, 4MP, 2MP
- Records 1080P HD video from 5 to 180 seconds w/audio
- 45 Black IR emitters w/100 ft. range
- Operates on 12 AA batteries
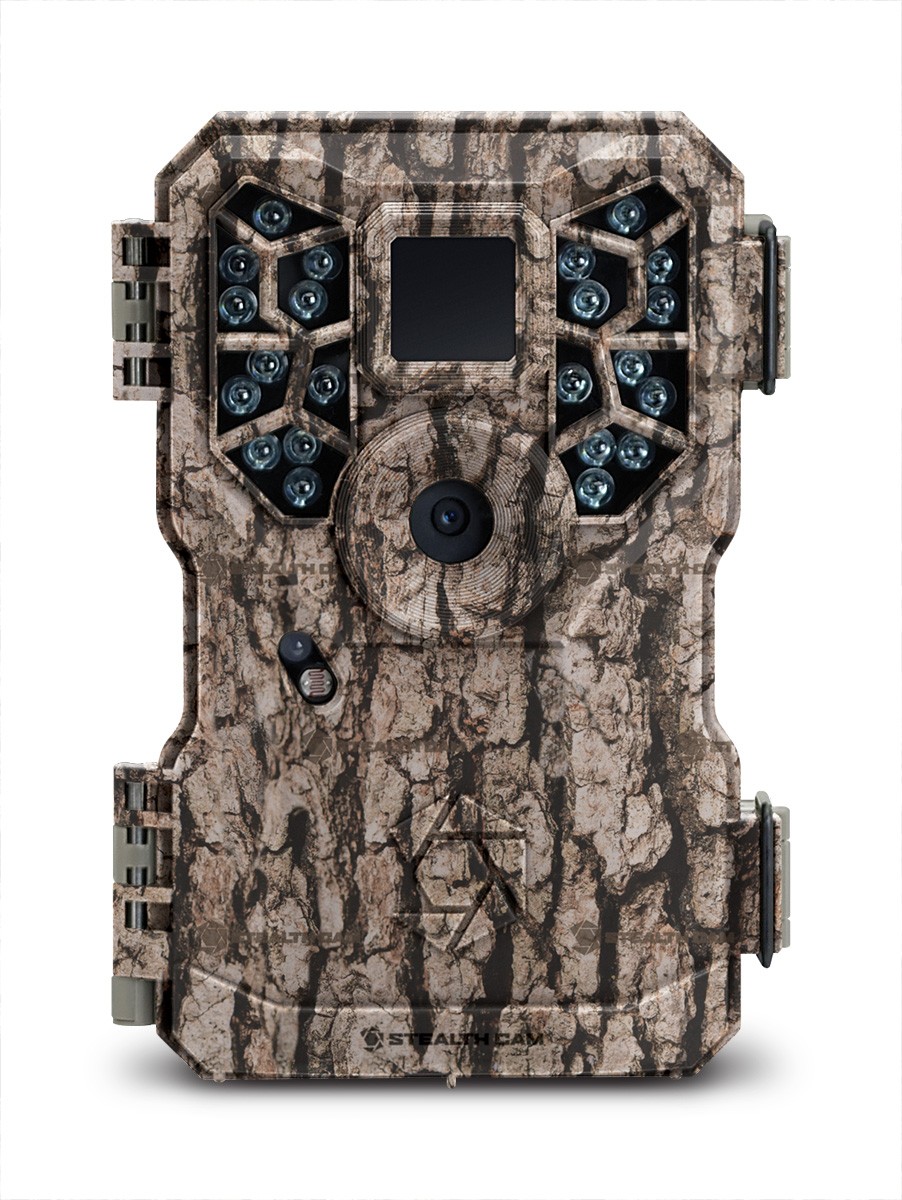
Stealth Cam PX22 Trail Camera Features:
- 8MP resolution
- Can record up to 15 seconds of video (no audio)
- 22 IR emitters w/60 ft. range
- Reflex trigger < 1 second
- Burst mode 1-9 images per triggering
- 5-59 second / 1-59 minute recovery time out
- Operates on 8 AA batteries
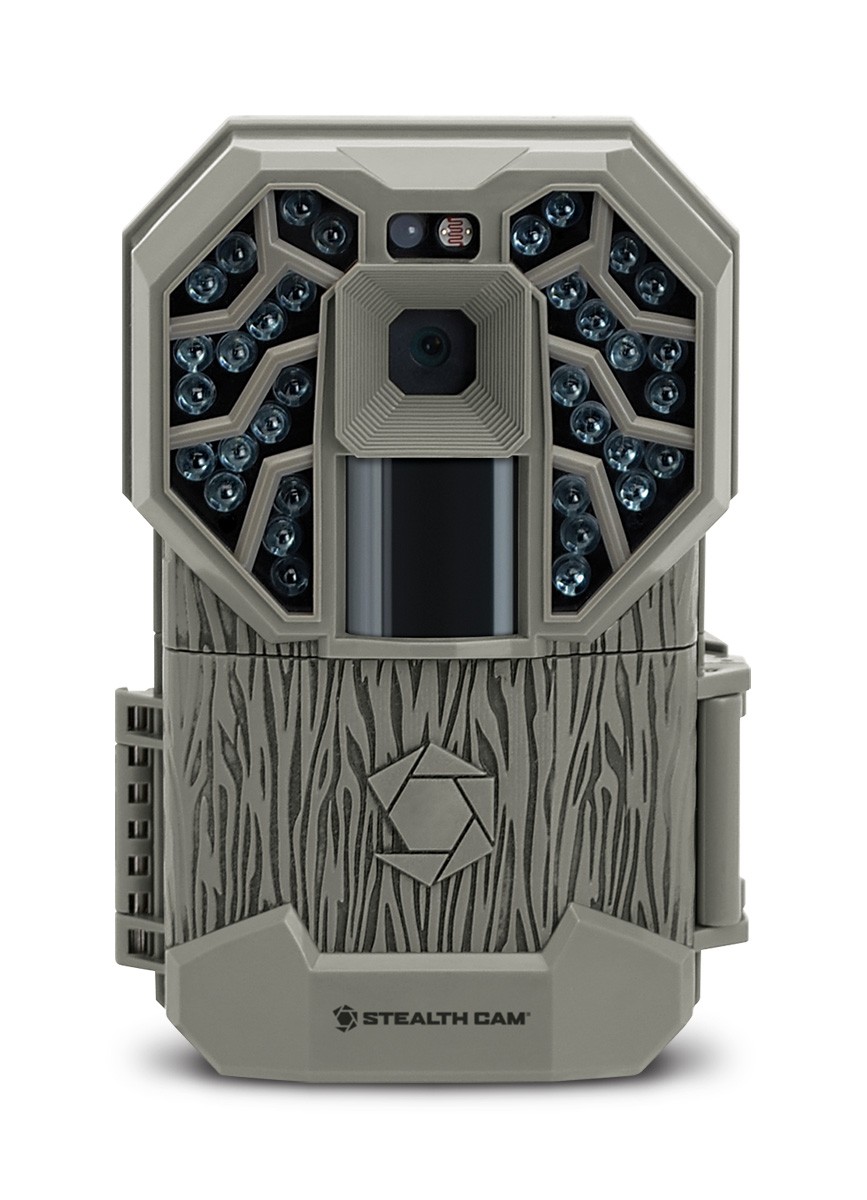
Stealth Cam G34 Pro 12MP Trail Camera Features:
- Different resolution settings to save space on your HD card if desired: 12MP, 8MP, 6MP, 2MP
- HD video recording from 5 to 180 seconds w/audio
- Time Lapse function w/PIR Override
- 45 No Glo IR Emitters w/100 ft. range
- Reflex trigger < 0.5 seconds
- Burst mode 1-9 images per triggering
- 5-59 second / 1-59 minute recovery time out
- Operates on 8 AA batteries
All of the cameras listed above can accept SD memory cards up to 32 GB, have fairly similar trigger speeds from around 0.5 seconds to 1 second (this is how quickly the camera responds to detected movement and captures an image), and the majority offer variable image quality settings. Lowering the resolution setting will allow you to increase the number of pictures one memory card can hold. Just keep in mind though that a difference of 2 or 4 MP per image is not going to allow you to take that many more images, so I would recommend always using the highest resolution available. Where this will really make a difference is in the nighttime images. We all know that nighttime trail camera images can definitely leave something to be desired, especially when compared to day time images. This is another point that I’ve heard people talk about before: what is the difference between No Glow vs Low Glow (sometimes referred to as Red Glow)? The Low or Red Glow IR emitters produce a visible red glow from the infrared emitters when they capture an image or record video when there is not sufficient light (aka at or near nighttime). The No Glow IR emitters, sometimes called Black IR emitters, simply don’t display any visible light when taking pictures at night. This is because the wavelength of the light they emit is not within the visible spectrum of light, but does still fall within the infrared or IR spectrum, hence the term “no glow” or “black flash”.
So what is better and why? In my experience, the No Glow cameras do not produce as clear of nighttime images as the Low Glow cameras do. It’s based off of the simple principle that if there isn’t sufficient light when capturing an image, the image quality suffers. I’ve heard some people say that the low glow cameras can scare game away since they flash red whenever they take a picture, but I’ve found it to be almost the complete opposite. I’ve never been able to tell for sure that any type of game has been scared off by the low glow flash, and what usually happens it they’ll stare right at the camera, then go back to grazing or whatever they were doing, and maybe stare at the camera the next time the flash goes off. This has given me several head-on and profile shots of bucks and bulls and allowed me to evaluate their antlers from several different angles. Every once in a while they will get really curious and come right over to the camera and start sniffing it, and I’ve even had one or two elk that have licked the camera! So based off of my experience with both types, I’d recommend the Low Glow cameras.
Also, in some testing I did, I found that the listed maximum range of nearly all trail cameras is actually about 10-20 feet greater than the maximum distances I could get the cameras to activate at, so just keep that in mind.
This brings me to another important point: trail camera securing and placement. I prefer to use the Bear Boxes that Stealth Cam makes when I place a trail camera. When I first started setting trail cameras, I just strapped them to the tree and off I went. Then, I started using python cable locks to lock it to the tree in addition to the strap to keep the camera snug and in place. But as some of you may know from experience, it can be hard, if not impossible with some camera models, to get a python cable lock to prevent anyone from opening the door to get to the memory card. I quickly got tired of this and decided to start running the Bear Boxes that Stealth Cam makes. Now when I go to set up a trail camera, I take the camera, Bear Box, a couple lag bolts, and my ratchet set and simply lag the box to a tree (preferably an older tree), and then I put a lock on the Bear Box so no one can get in it.
I would highly recommend that whenever you set a trail camera, however you choose to secure it in place, that you secure it as if you were going to leave it and go on your way, but first go walk out in front of it to where you expect the animals to pass by at. Walk back and forth for a few minutes, maybe wave your arms a little; just make sure the camera has a chance to take a few images of you. Then go back and check the pictures on the memory card to ensure that it’s pointed exactly where you want at the correct angle and elevation. This is where a small digital camera or a memory card adapter than can plug into your phone comes in real handy so you can check the images on the HD card. I’ve also found that it helps a lot when setting cameras to place a small piece of a stick behind the top of the camera in between the camera and the tree so as to angle the camera slightly downward. However you choose to do it, just make sure it’s turned on and pointed exactly where you want when you leave it. Checking trail cameras makes me feel like a kid on Christmas, just wondering what type of surprises are in store, and nothing can kill that feeling like finding out that it wasn’t pointed where it should have been or that it had been off the whole time!
BlackOvis offers some of the latest and greatest trail cameras from Stealth Cam. I highly recommend Stealth Cam, and the Volume Discount pricing offered on BlackOvis is just icing on the cake. They will definitely help take your scouting to the next level in your quest to pattern that trophy buck or bull you’re after!

