How to Choose the Right Trail Camera in the West

There are many different models of trail cameras these days, all with different specs and megapixels that may make it confusing when trying to choose. It’s hard to know which one is right for you and your situation. You might be new to trail cameras and just want to get something going to see what's in your area, or you might be a seasoned pro looking to upgrade your cameras cameras for higher quality images.
Typically you want the most megapixels and the most LED bulbs for the best price. On all Stealth Cam models, the number in the model name represents how many LED bulbs are in the camera. If it says "NG", it stands for No Glo bulbs which eliminates the flash at night so it doesn’t spook the animals. No Glo LED bulbs are great for security cameras as well.
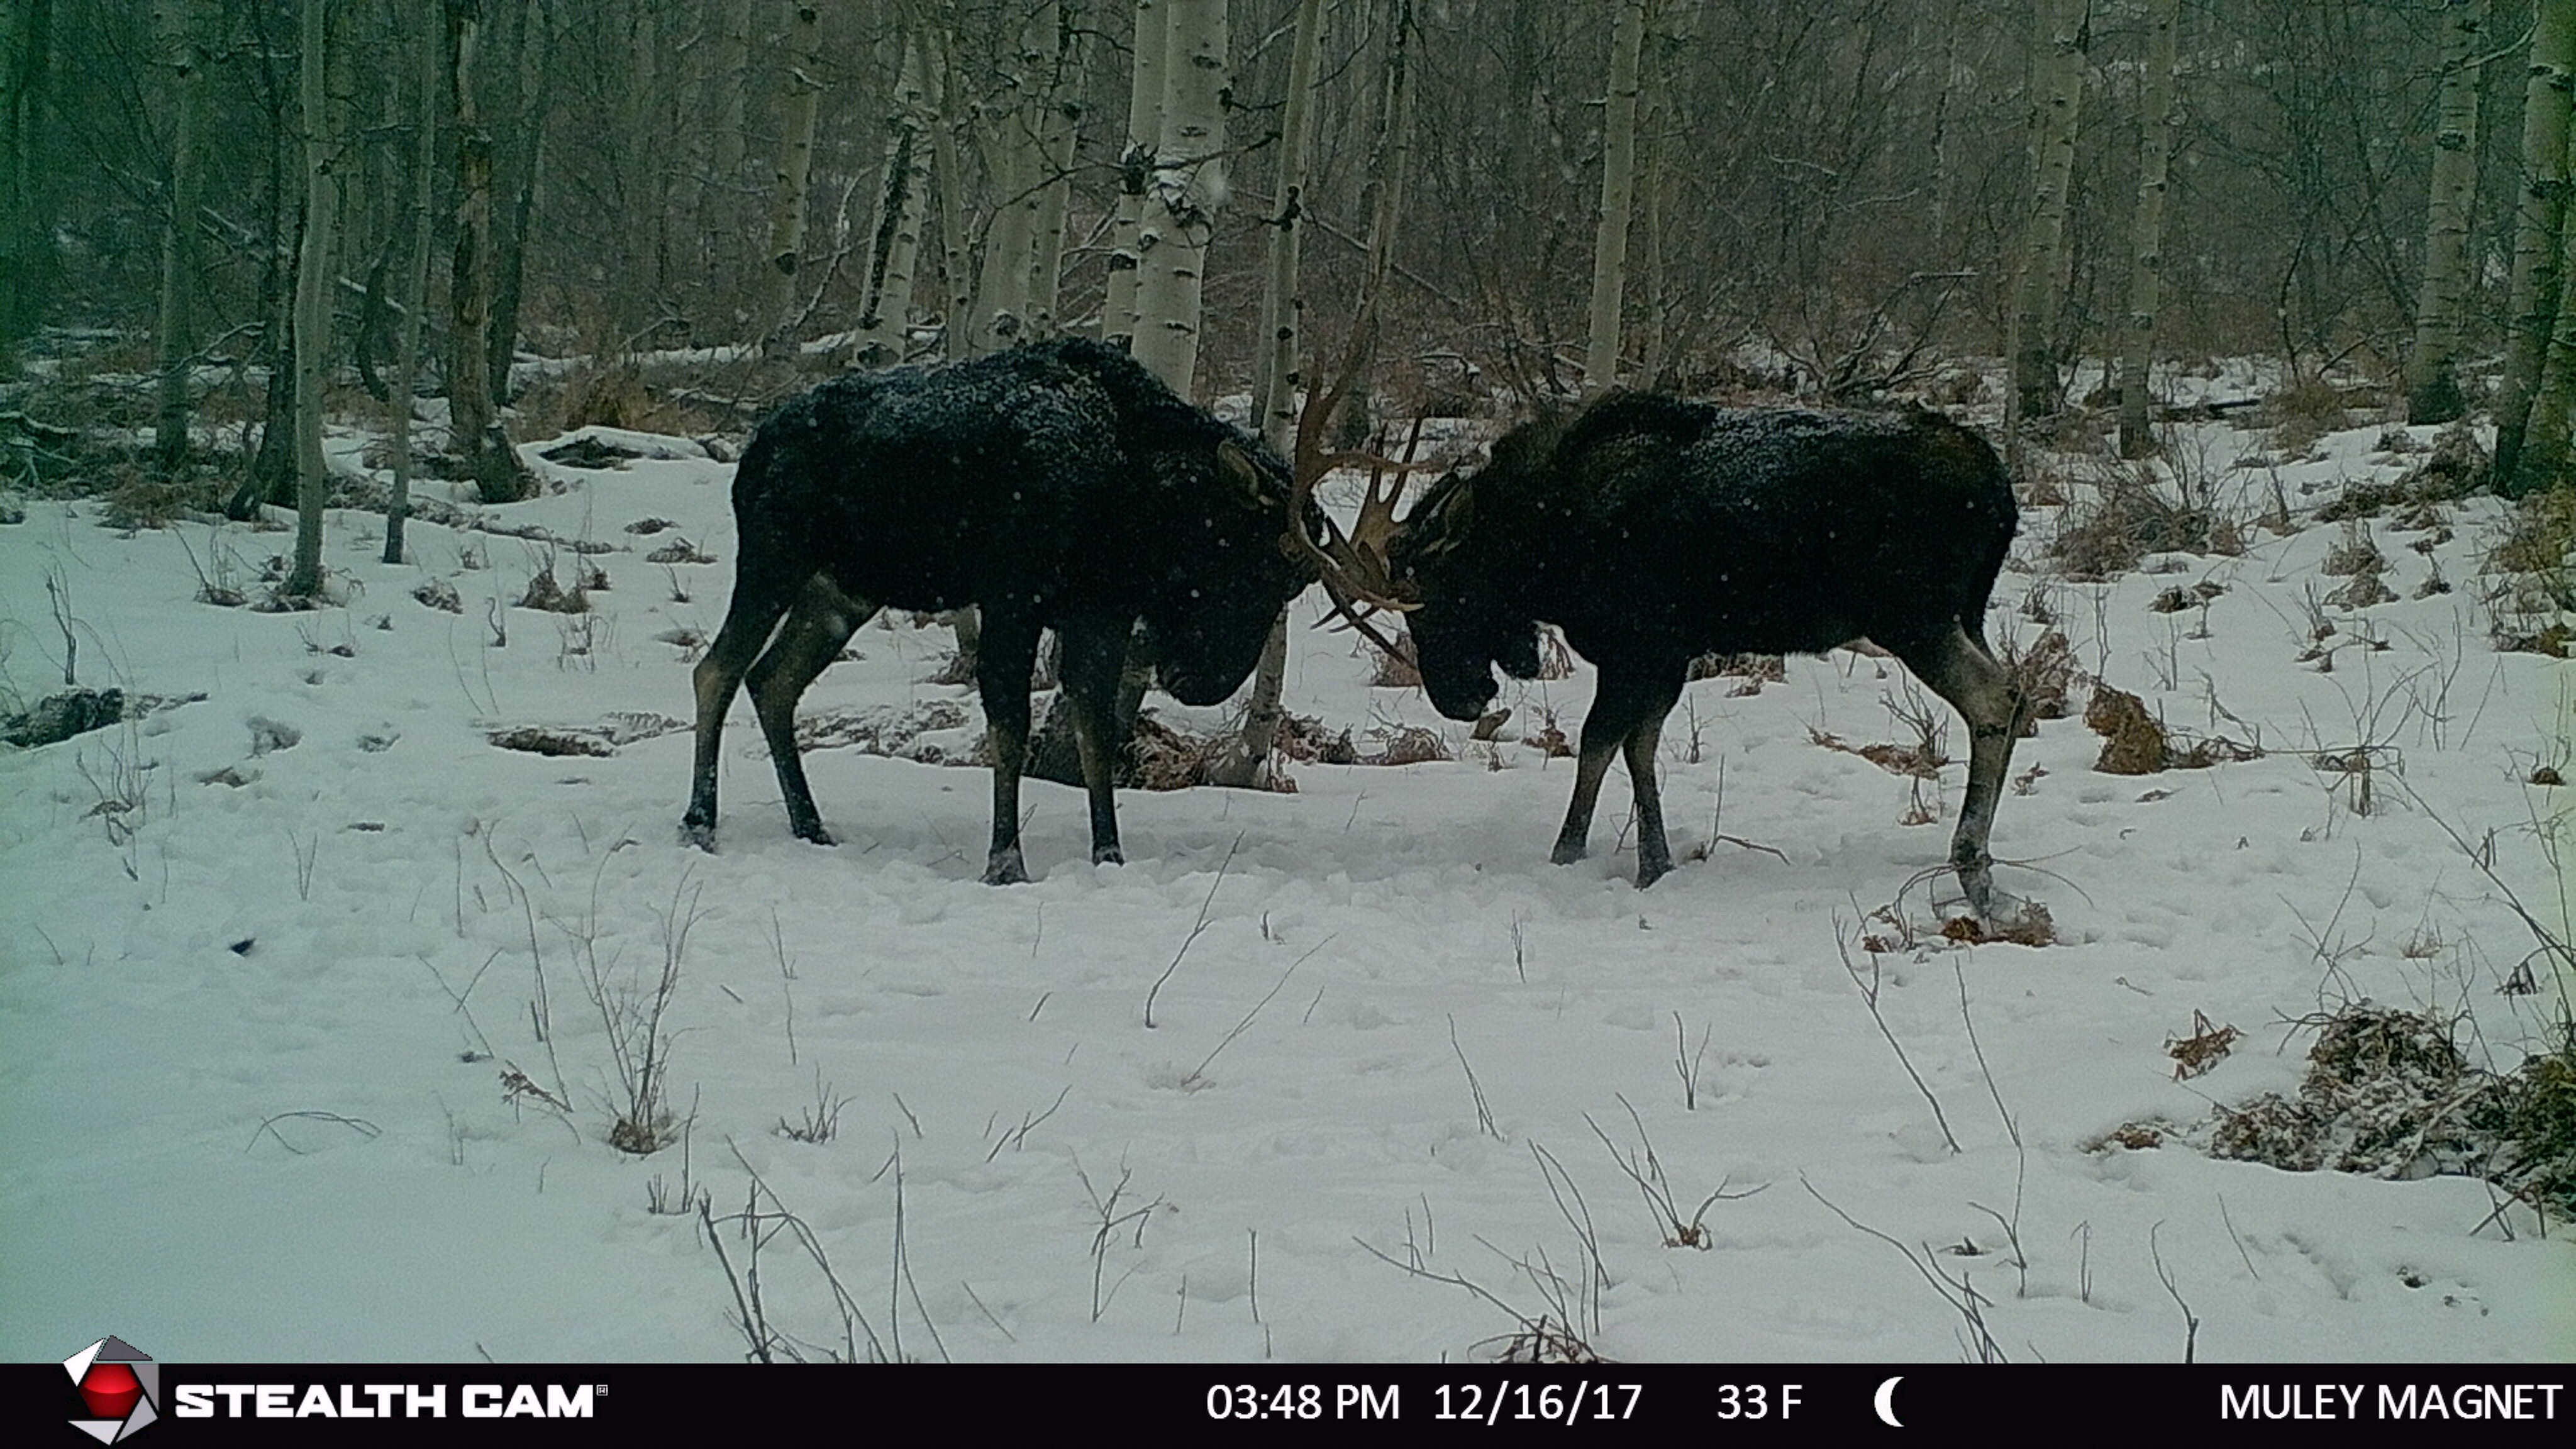
If you're just wanting to set up some cameras and don’t care for the worlds best pictures and don't want to deal with setting up all the features, then look into picking up any of the Stealth Cam QS series cameras. You pretty much just have to turn the camera on and leave it. These have very little settings to play with which is great for some people. If you want a few more settings but need something relatively still simple to use, look into the PX series of trail cameras from Stealth Cam. I personally like the PX26NG because you get good nighttime and day images for the price. This model of camera is great for higher foot traffic areas on public land use in case you do by chance get it stolen, you hopefully won't be out too much money. This camera can also do short videos but isn't ideal on any of the PX models because of the slower processor. If you're looking for high quality video then look into spending a little more money on your cameras. It will be worth it.
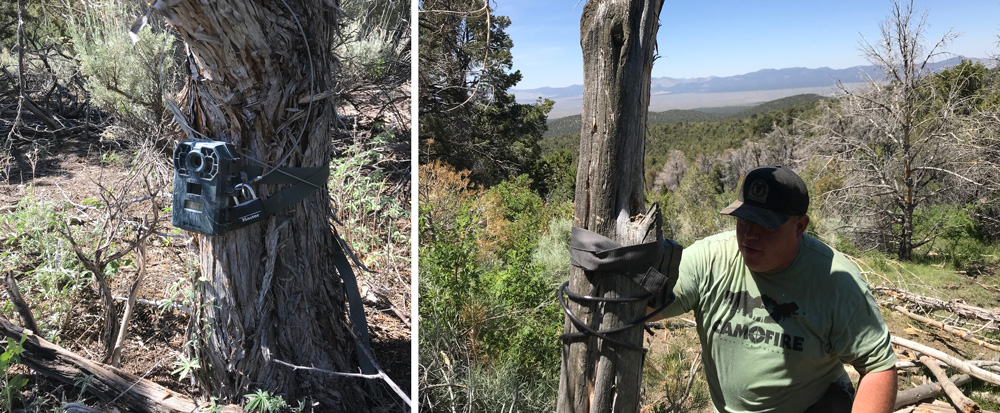
Positioning the right camera in the right spot can be key in getting better pictures as well. If you are on a north facing hill in the deep thick pines, you'll want to put up a better camera if you can. (preferably a G34 Pro from Stealth Cam). If you put an FX shield camera or lower end camera in a dark area, your pictures can turn out blurry more often than not or will be way too dark. More LED bulbs the better for these types of spots. If you're in a spot where you don’t want any hunters to know there's a camera, then look into getting the No Glo type of LED bulbs to help keep you low in low light situations.


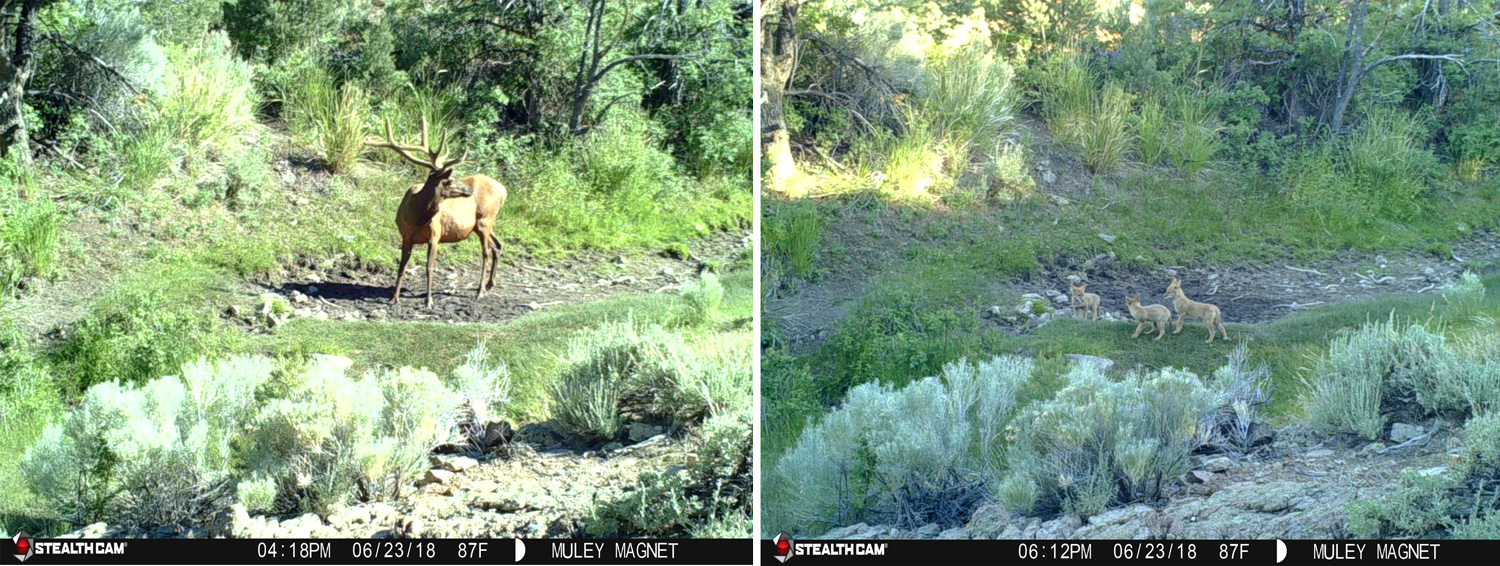
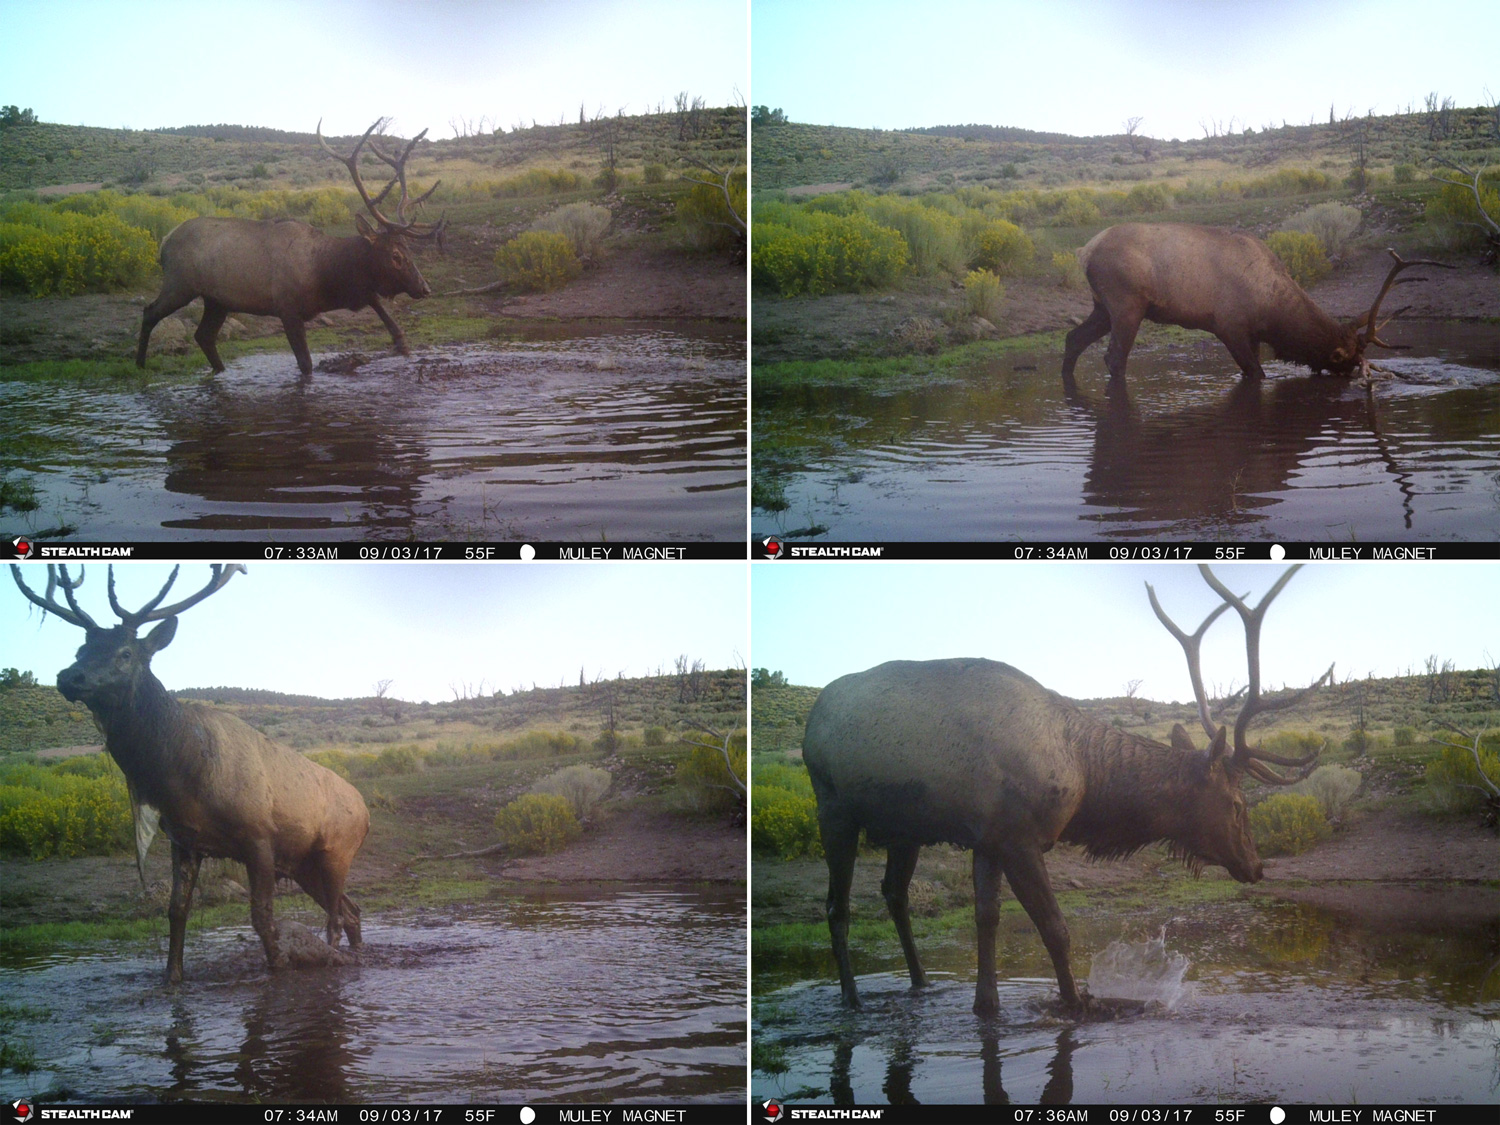
When I have found the buck or bull I'm looking for to hunt this fall, I will switch out the cheaper cameras such as the PX or QS series cameras and upgrade them to the G series cameras to get better pics to help figure out how big he really is. Great quality images go a long way! It can help you determine if he's a shooter or not by clean crisp images. Say you have your bull coming into water at night and your other pics where a little blurry due to movement or just out of range of the light, I would highly recommend the Stealth Cam G34 Pro 12MP Camera. It has some of the best night quality images out there and uses regular LED bulbs to help get a longer and brighter flash out there at night. This might spook your bulls in the area, but in my experience I haven't noticed too much. The elk seem to be just fine and lots of Guides out West are using this model of camera these days.
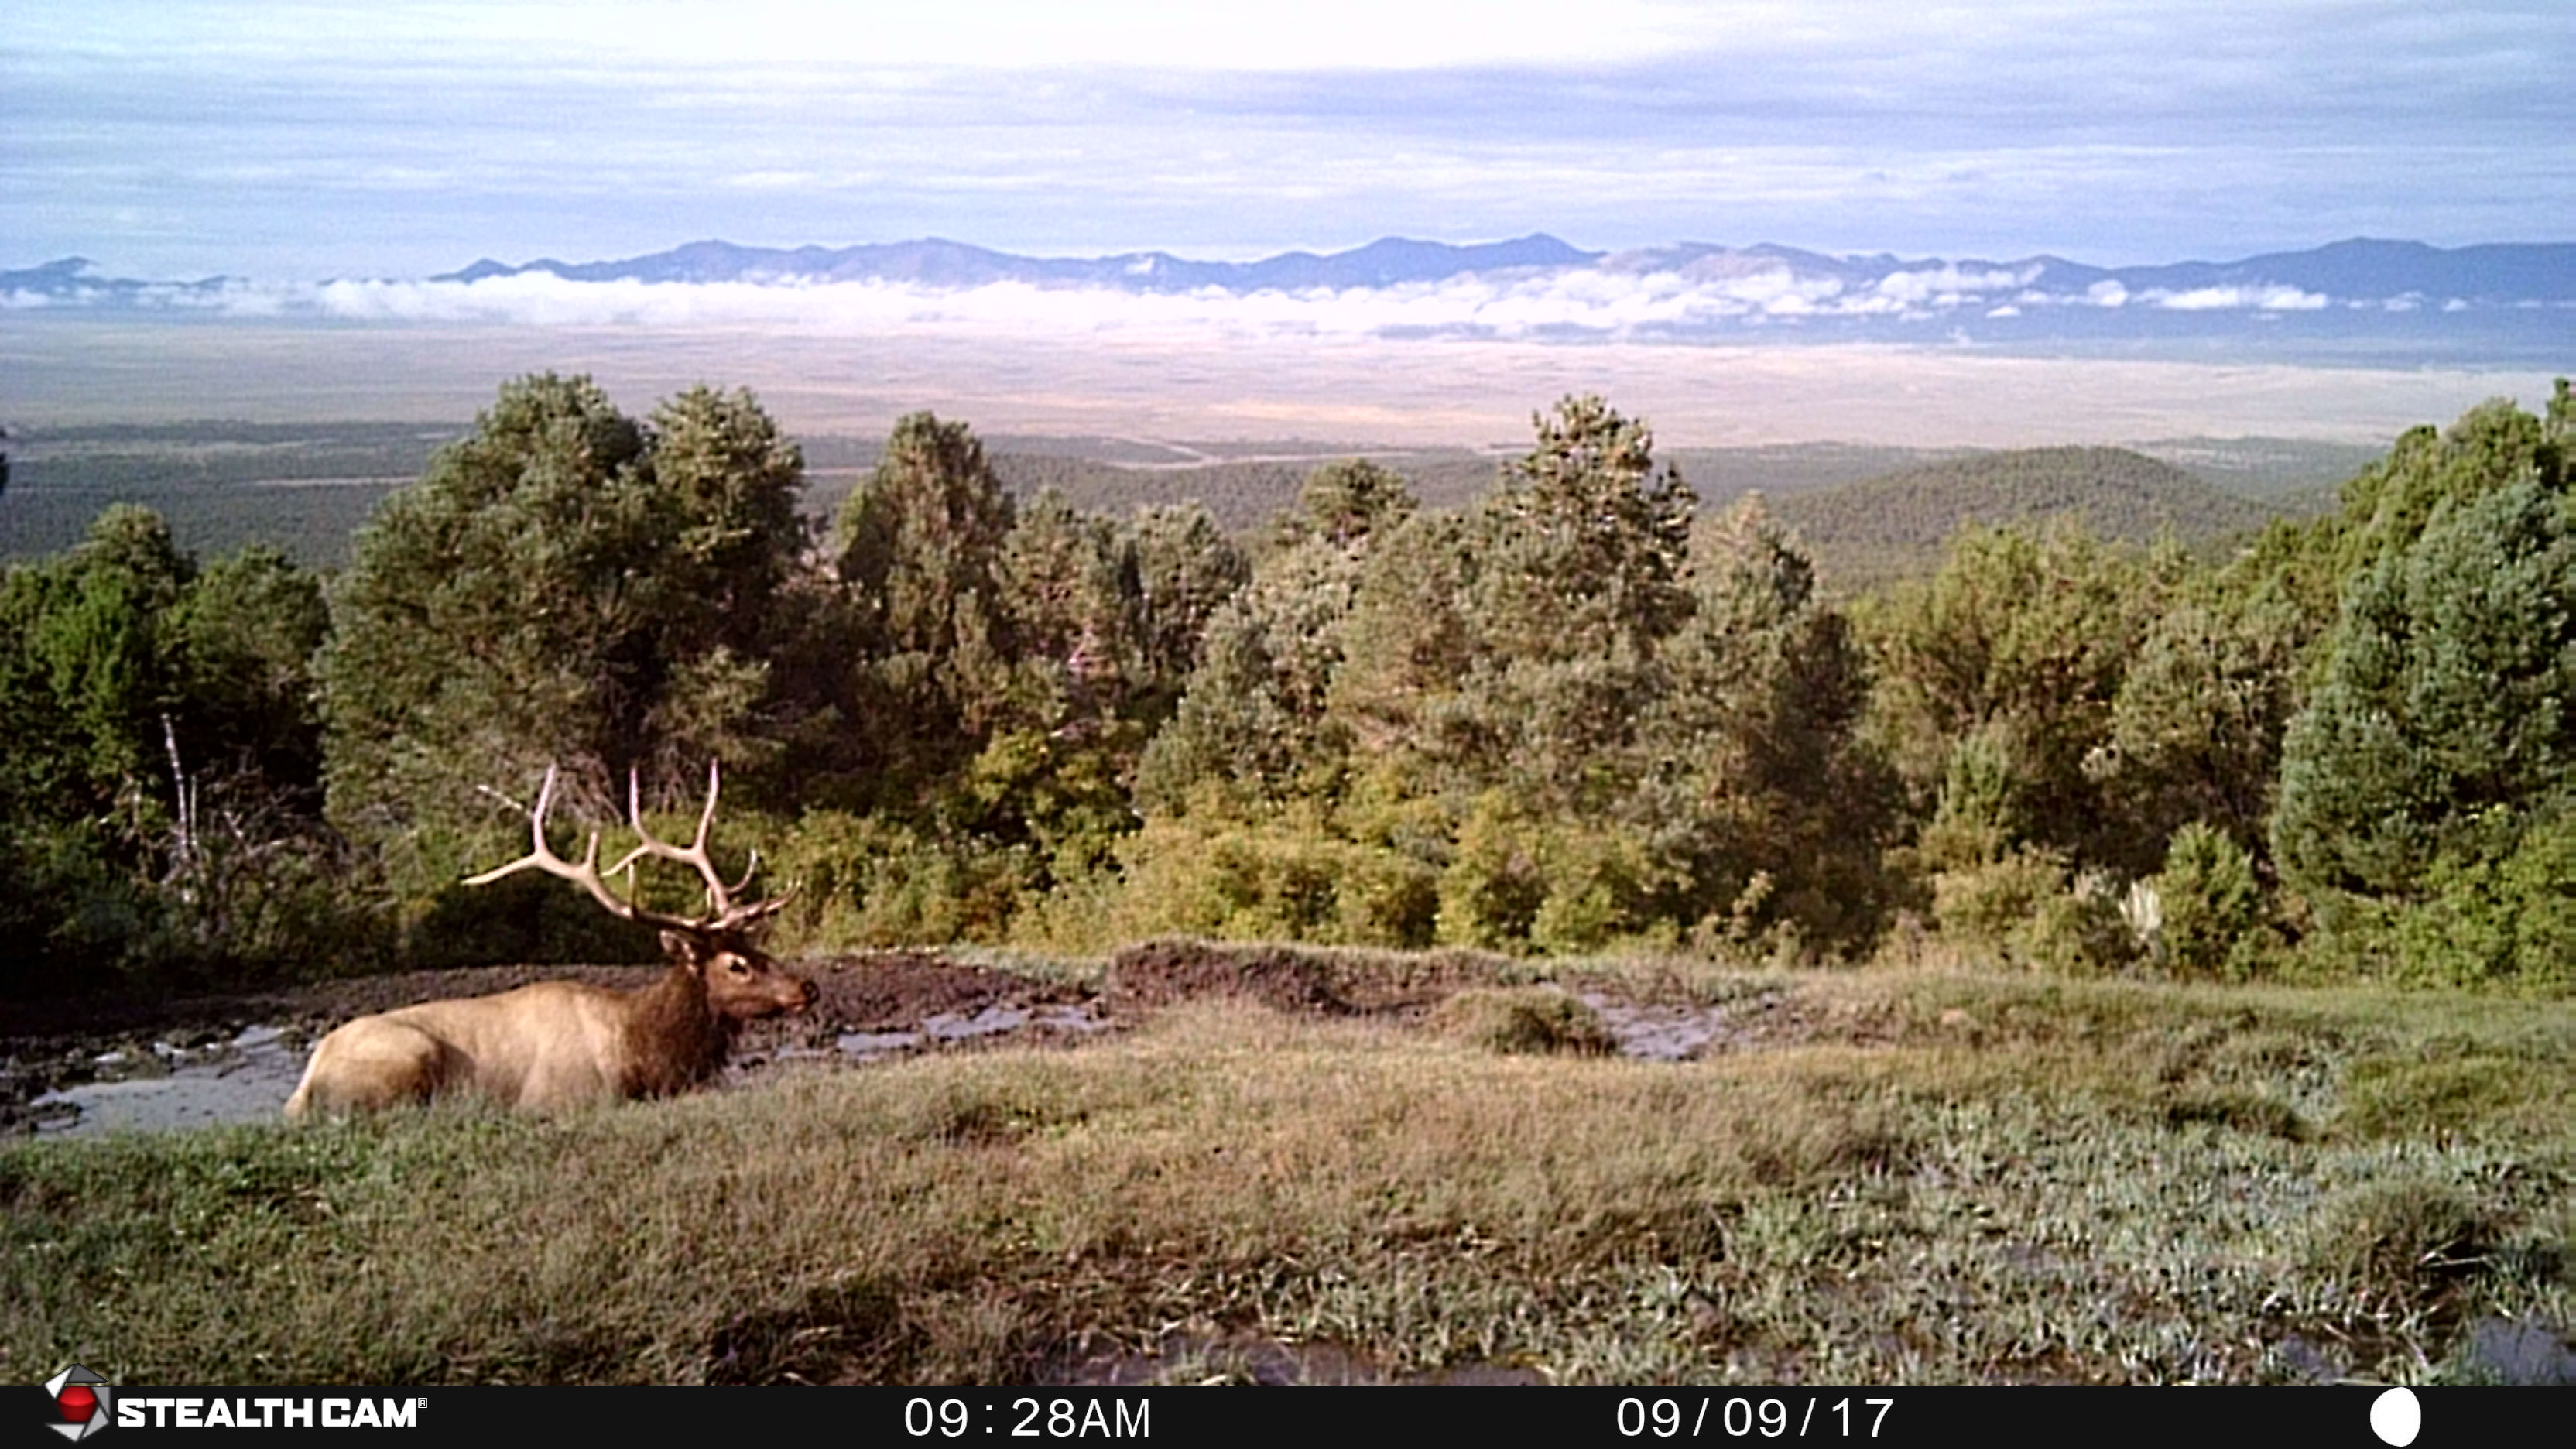
Now if you become a trail cam geek like myself and love this new hobby, you'll want to slowly upgrade all of your cameras and possibly go for the ultimate Stealth Cam DS4K Trail Camera. This 30MP trail camera takes the most clear and crisp images in the woods you'll ever see! It also does video in 4k resolution, the first trail camera on the market to have this resolution mode. The DS4K camera is becoming my new favorite friend. I find myself always wanting to go check these cameras more and more vs my others. The coolest part of this camera is that you can do a combo mode to have it take pictures AND video at the same time. The audio is also off the charts awesome! The one thing I would recommend is that if you don’t have a way to view 4k on your phone or computer then I would recommend running the video mode on the QHD mode instead to still get some incredible video quality.
The next thing you're probably thinking about on these high quality cameras is how long will the battery last. They take 12 AA batteries and somehow Stealth Cam has made the battery life seem like it lasts a lifetime. They tested this camera to take 35 day photos and 35 night photos per day and it lasted up to 15 months. That’s over 31,000 pics!

When setting up cameras you need a few other accessory items to make your trail cam pics a huge success. Start by being organized. Get in a routine and make sure you have everything you need before you go out and set or check your cameras. I like to make sure I have 2 SD cards per camera so that way when I'm checking my cameras I can just pull the card and plug in another one and move onto the next. This saves you tons of time in the long run when running multiple cameras in a season. Next I would make sure I have a way to organize all of my SD cards so I don’t loose them. I have been a big fan of the SD Memory Card Storage Case by Stealth Cam that holds up to 12 full size SD cards and has a waterproof seal to prevent water damage. Being a public land hunter, I also run Python Cable Locks on all of my cameras these days. I don’t use the bear boxes personally just because I would rather spend that extra money on more cameras myself. And lets face it, the security is mainly keeping the honest people honest. If that jerk that was never loved as a kid and didn’t learn how to keep their hands to themselves really wants your camera, he's going to get it one way or another. Keeping it somewhat secure using the python cable locks seems to do the trick for the most part.
The best way to check your pictures on your set trail cameras is by using an SD card reader that plugs right into your phone. There are quite a few options, including ones from Stealth Cam that include ports for Android, iPhone, or the newer Andriod USBC plug all in one. This has been one of my favorite hunting items I take everywhere and it's super simple to use. Just plug in the SD card and you can view and save any pictures or videos right to your phone. This is a MUST HAVE in my opinion.
Lastly, make sure you take a good saw and shears to clear out all the brush in the way that could signal your cameras to fire by moving in the wind. There's nothing worse than coming up to a camera and seeing thousands of pictures of the bushes blowing around and no animals in sight. I have been using the Wicked Tree Gear Hand Saw and it cuts through limbs like butter.
There are many other tips and tricks to get great pictures in the woods but I hope this overview has given you some insight on which camera best fits your situation and where you want to place cameras this scouting season. Everyone makes mistakes and forgets one thing or another, but the #1 rule is to always make sure your camera is ON before you leave the camera. Haha trust me, you will forget only once before it’s the top thing on your mind.

1 Comment