CBE Sight Review

My search for a new hunting sight was intentional but what I ended up with was a result of not being able to get the original sight I thought I wanted. I had a spring Alaska bear hunt coming up in May and I needed an immediate solution. The sight I wanted had been on order for 4 months and got delayed again due to supply chain issues. I was explaining my dilemma to a good friend and hunting mentor, and he told me to check out the CBE Trek Pro Sight. I’m glad I did.
Custom Bow Equipment (CBE) Trek Pro Sight
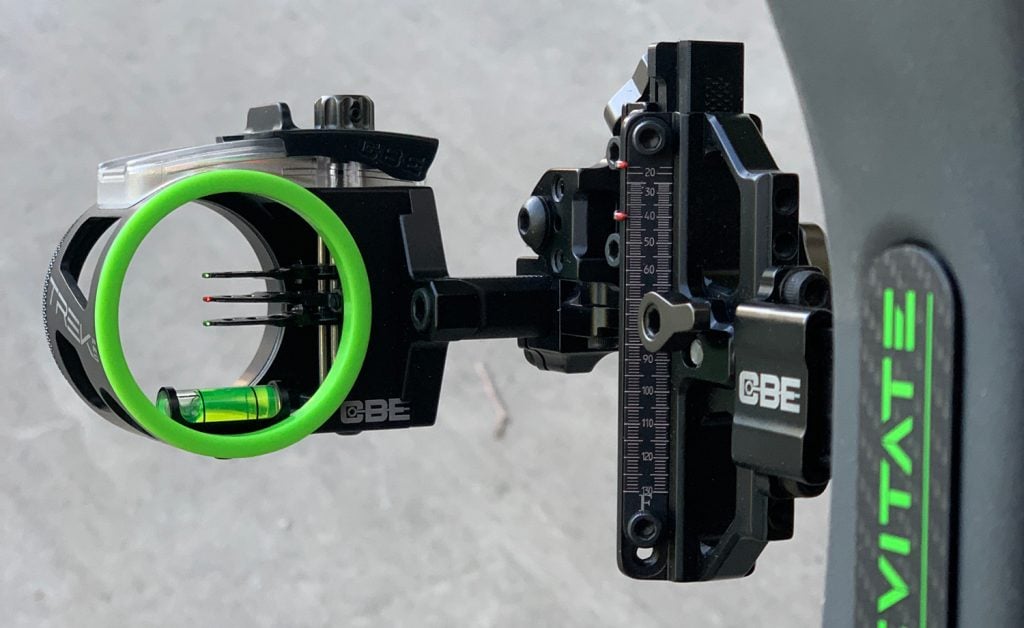
The Trek Pro is one of the more feature rich hunting sights that CBE makes. I prefer a multi-pin adjustable sight for hunting and the Trek Pro can be configured with 1, 3, or 5 pins. My first impression is that the sight is well built out of fully machined aluminum but didn’t seem too bulky or heavy. I shoot a Carbon Levitate so my goal was to keep my overall hunting set up lightweight yet bulletproof. Although this sight has many great features, below are several that stood out to me.
- Weight: 11 oz/ 3 pin w/ mount
- Sliding Rheostat cover to optimize pin brightness
- Ability to set up to two floating pins with multiple indicator pointers
- Drive is smooth for fast adjustment
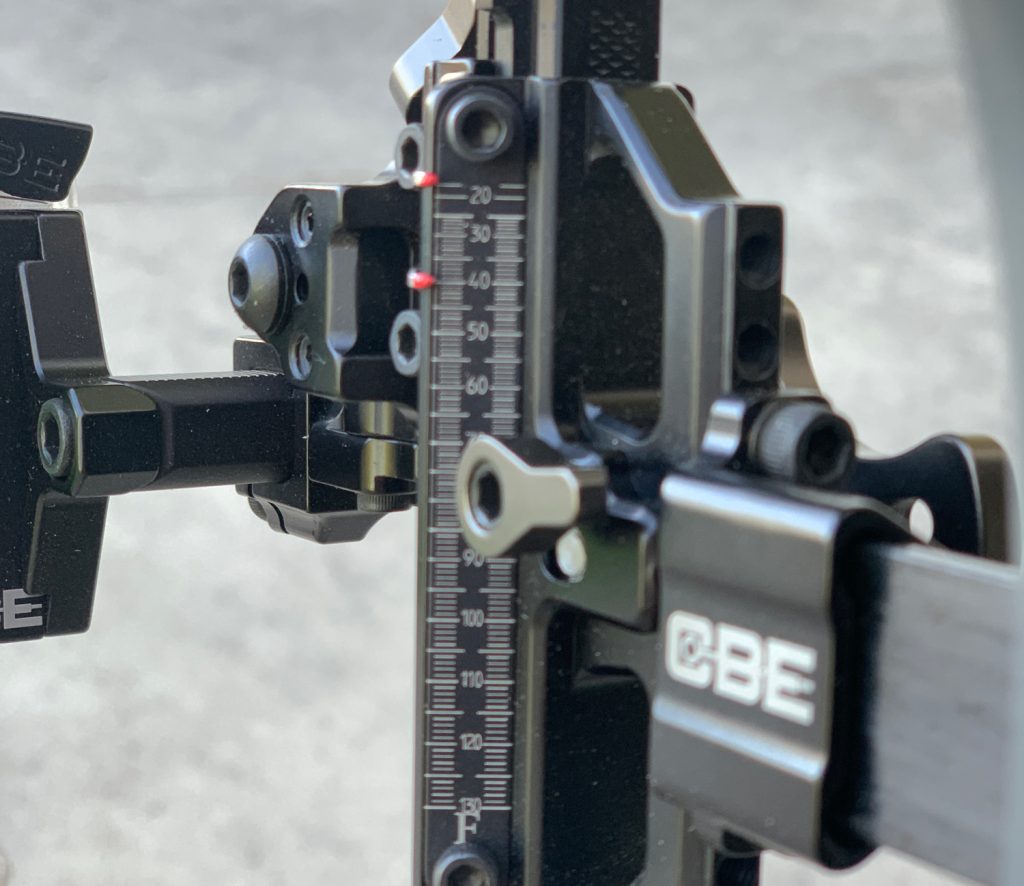
- Laser engraved aluminum sight yardage tapes
- Adjustable 1st, 2nd, and 3rd axis
- Available in .010” pins (smaller for more precise aiming at longer range)
Set up
Set up is very straightforward. The Trek Pro comes with a Carbon Fiber extension dovetail sight bar with ball detents. This is nice because not only is it very lightweight, but you can extend or retract the bar to match your peep sight with the pin housing. Additionally, if you must remove the sight, like I did for my trip to Alaska, you can mark the bar with a sharpie and know exactly where it needs to be when re-attaching the sight. I took off the sight and re-attached several times prior to my trip and didn’t see any variance to my arrow impact.
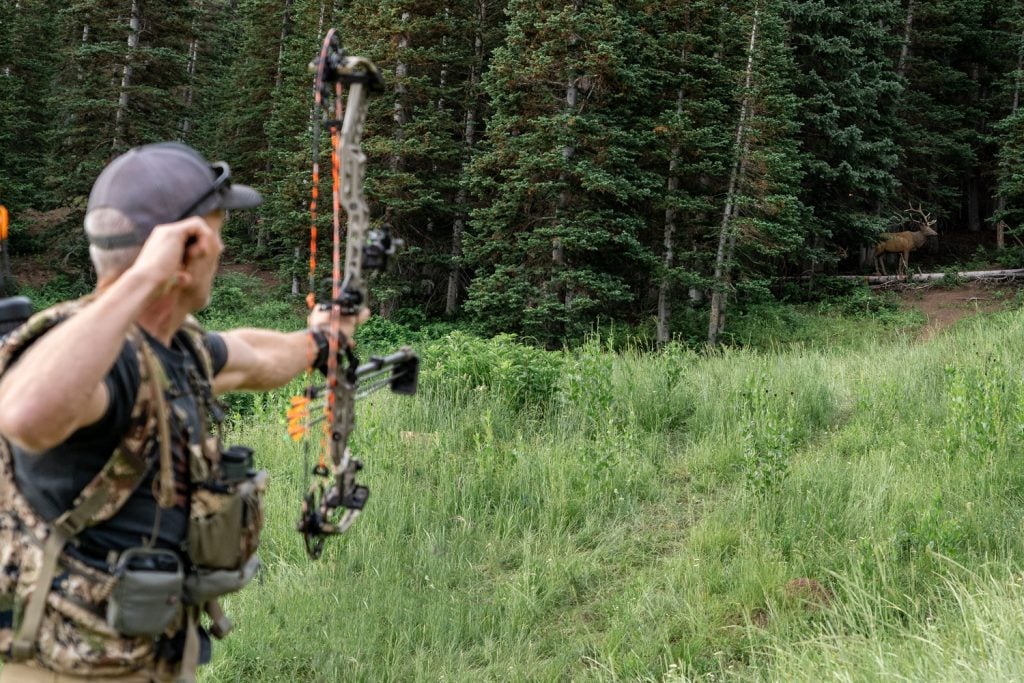
My goal was also to get as much distance out of this sight as possible. For my setup, I was able to position the housing at close to the top of the drive cycle and then move the pins down in the housing for the initial sight in. Doing this allowed me to get out to 130 yards and still clear the sight housing at the low drive position. I haven’t been able to do this with other multi-pin slider sights. Just for reference, I shoot a 445-grain arrow with a 28.5” DL at 287 fps. So not crazy fast for this type of range adjustability.
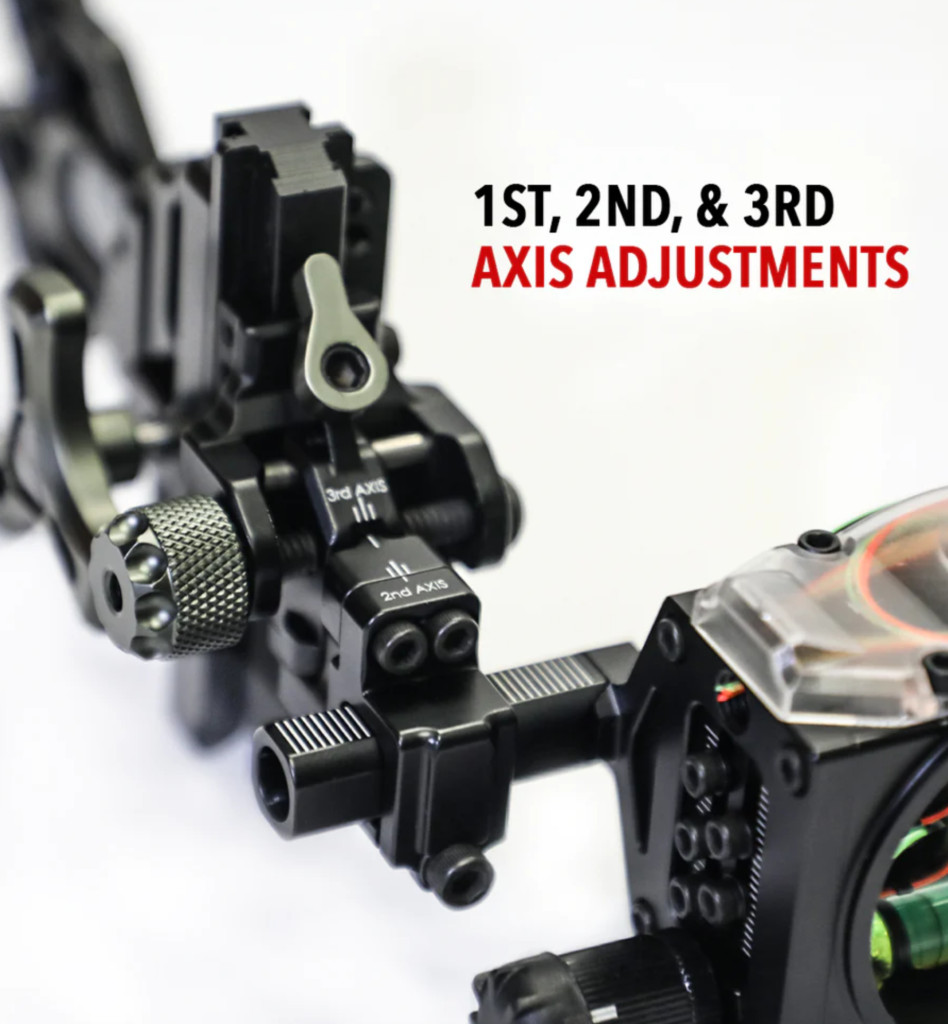
Lastly, the 1st, 2nd, and 3rd access adjustment are very straightforward on this sight. A simple locking lever makes this a very adjustment.
Sight In
After attaching the sight and making sure everything is plumb with my bow, it only took me a half a dozen shots to get my 20 yard pin dialed. Like I mentioned above, I adjusted the housing to the top position on the drive and then moved the pins down in the housing. Adjusting these pins is easy as it has a lock screw for each pin. When you loosen one of these screws, I was able to simply adjust a dial to move the pin up or down. For pin gaping, I use one of the sight tapes provided and adjust the pins to match the sight tape. You will need to know your approximate speed of your bow to pick the right sight tape. There is a good instructional video online that show this process in detail.
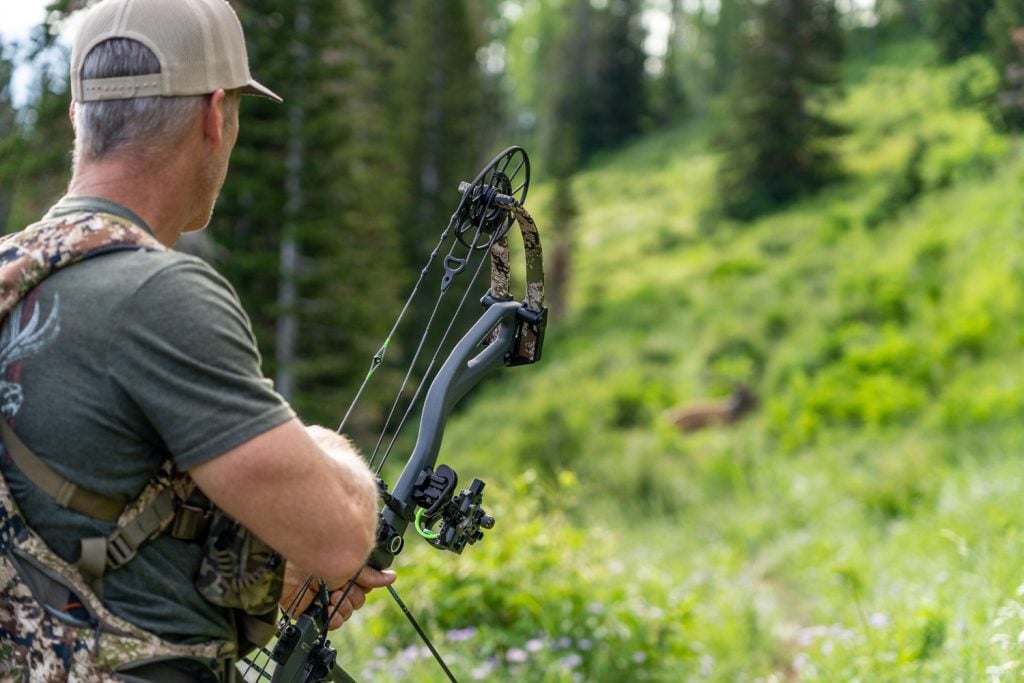
I absolutely love the smaller .010” pins but they do offer the standard .019” pins. For me, the .010’s offer plenty of visibility in low light conditions and allow for more precise aiming at longer ranges because they cover less of the target. The pins are also blade style which I have found to be durable so far.
For hunting purposes, I really like the dual indicator pin concept. Meaning you can dial either your top or bottom pin to any distance on your sight tape. I run my top pin at 30 yards and my bottom pin at 50 yards. When I dial my bottom pin to 70 yards, for example, my top pin is pointing to 53 yards. This can be a good reference point if an animal is moving after you have ranged it and you are at full draw.
The laser engraved sight yardage scales are pretty slick. At first, I didn’t know if I would like the black with white etching because I was used to something different, but I’ve gotten used to it. These are completely weatherproof and attached with two small screws so they are very secure.
Lastly the rapid drive is very smooth, and the tolerances are good. Better than most adjustable sights out in the market. It is located a little closer to the sight so if you’re running a quiver you may need to reach around to access but I haven’t found this to be a negative. I personally use a quivalizer so not an issue.
In summary
I really like this sight. I have been a fan of some of the other multi-pin hunting sights in the market and hadn’t even considered a CBE but like I said in the beginning, I’m glad I did. I can honestly say it is one of my favorite sights based on the features offered for the reasonable price point. I used it on my spring bear hunt and will be using it in the elk woods this fall. These sights cost around $339.99 - $349.99 depending on how they are configured. If I had anything negative to say about the sight it would be that I would have chosen a different location for the elevation lockdown lever. The lever sits in the middle and right in front of the sight tape and blocks the view of a small portion of the tape. You can peak around it and see what you’re doing but it is a little bit of a head scratcher as to why they put it there. Go check them out!

Good Hunting,

1 Comment